这篇博客是Ngnix的学习记录,操作环境在centos系统下
一、防火墙关闭
本地测试方便实验不需要防火墙,所以先把防火墙关闭
1
2
3
4
5
6
| [root@localhost ~]
running
[root@localhost ~]
[root@localhost ~]
Removed symlink /etc/systemd/system/multi-user.target.wants/firewalld.service.
Removed symlink /etc/systemd/system/dbus-org.fedoraproject.FirewallD1.service.
|
二、Nginx版本选择
Ngnix有非常多的发行版,我选择官方免费开源版本进行学习,链接如下,在官网直接下载压缩包,通过xftp上传到虚拟机即可
Nginx开源版(官方免费开源版本)
http://nginx.org/
Nginx plus 商业版(付费版,在上版本基础上加了一些功能)
https://www.nginx.com
openresty(nginx+lua完美整合)
http://openresty.org/cn/
Tengine(淘宝网公布发行版本,免费开源)
http://tengine.taobao.org
三、Nginx安装
(1)压缩包解压
1
2
3
4
5
| [root@localhost ~]
总用量 1056
-rw-------. 1 root root 1257 9月 4 2022 anaconda-ks.cfg
-rw-r--r--. 1 root root 1073322 9月 4 12:05 nginx-1.22.0.tar.gz
[root@localhost ~]
|
(2)依赖安装
1
2
3
| yum install -y gcc
yum install -y pcre pcre-devel
yum install -y zlib zlib-devel
|
(3)源码编译安装
1
2
3
4
| cd nginx-1.21.6
./configure --prefix=/usr/local/nginx
make
make install
|
(4)配置系统服务
配置系统服务脚本
1
2
3
4
5
6
7
8
9
10
11
12
13
14
15
16
17
18
19
| [root@localhost nginx-1.22.0]
[Unit]
Description=nginx - web server
After=network.target remote-fs.target nss-lookup.target
[Service]
Type=forking
PIDFile=/usr/local/nginx/logs/nginx.pid
ExecStartPre=/usr/local/nginx/sbin/nginx -t -c /usr/local/nginx/conf/nginx.conf
ExecStart=/usr/local/nginx/sbin/nginx -c /usr/local/nginx/conf/nginx.conf
ExecReload=/usr/local/nginx/sbin/nginx -s reload
ExecStop=/usr/local/nginx/sbin/nginx -s stop
ExecQuit=/usr/local/nginx/sbin/nginx -s quit
PrivateTmp=true
[Install]
WantedBy=multi-user.target
|
启动服务并设置开机自启动
1
2
3
4
| [root@localhost nginx-1.22.0]
[root@localhost nginx-1.22.0]
[root@localhost nginx-1.22.0]
Created symlink from /etc/systemd/system/multi-user.target.wants/nginx.service to /usr/lib/systemd/system/nginx.service.
|
(5)测试
查看IP并输入到浏览器中测试
1
2
3
4
5
6
7
8
9
10
11
12
13
14
15
| [root@localhost nginx-1.22.0]
1: lo: <LOOPBACK,UP,LOWER_UP> mtu 65536 qdisc noqueue state UNKNOWN group default qlen 1000
link/loopback 00:00:00:00:00:00 brd 00:00:00:00:00:00
inet 127.0.0.1/8 scope host lo
valid_lft forever preferred_lft forever
inet6 ::1/128 scope host
valid_lft forever preferred_lft forever
2: ens33: <BROADCAST,MULTICAST,UP,LOWER_UP> mtu 1500 qdisc pfifo_fast state UP group default qlen 1000
link/ether 00:0c:29:65:79:48 brd ff:ff:ff:ff:ff:ff
inet 192.168.219.135/24 brd 192.168.219.255 scope global noprefixroute dynamic ens33
valid_lft 1441sec preferred_lft 1441sec
inet 192.168.219.101/24 brd 192.168.219.255 scope global secondary noprefixroute ens33
valid_lft forever preferred_lft forever
inet6 fe80::9ede:67c:cd8c:a0b/64 scope link noprefixroute
valid_lft forever preferred_lft forever
|
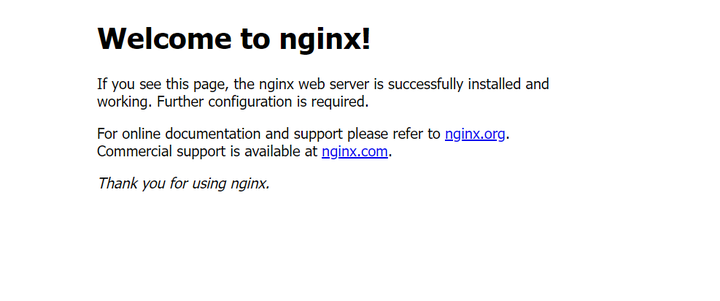
在浏览器输入192.168.219.101看到如下画面表示安装成功